SUPN - Simple Update Part Numbers
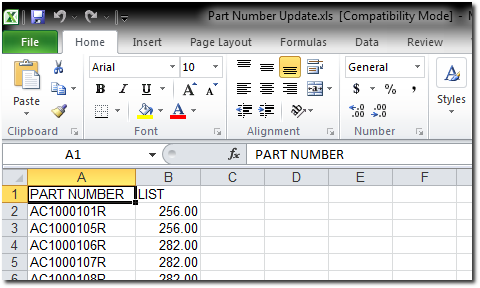 Have a spreadsheet ready with the part numbers in the left-most column.
Use a header row. Put PART NUMBER in the first cell.
Use any of the following names for more columns:
|
|
The values in the spreadsheet cannot be formulas. If you have formulas, copy the values only into another column and import that.
Save and close Excel before running SUPN.
 Run function SUPN.
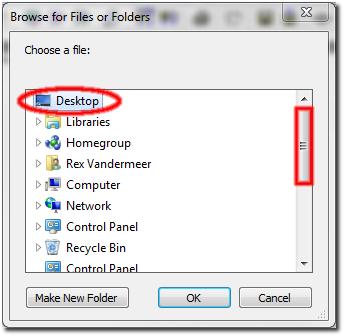 A browse window opens.
Browse to to your file...
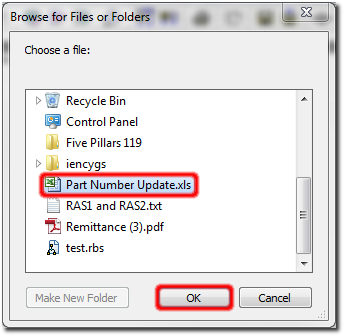 select it, and click OK.
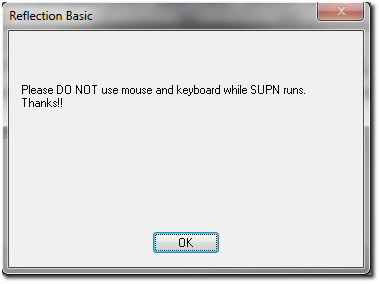
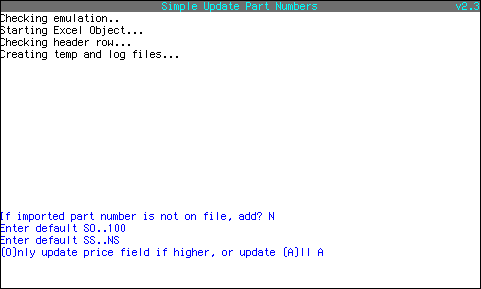 Answer the prompts.
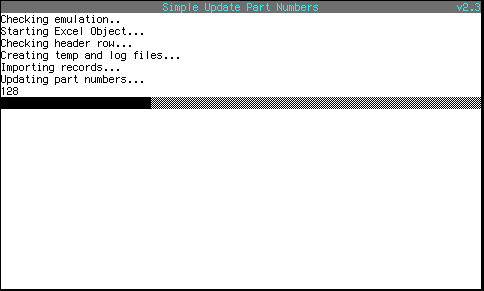 SUPN updates the part numbers.
 A file of the same name as the original .xls or .xlsx file is created with an extension of .csv.
This file shows all the updated part numbers, and the old values that were replaced.